
- Stardew Valley Roleplay Ideas – A New Way to Farm - May 9, 2023
- Stardew Valley Multiplayer Guide: Farm With Friends - February 27, 2023
- Stardew Valley Feast of the Winter Star Guide: A Winter Wonderland - January 23, 2023
Stardew Valley can be played in a lot of different ways. Thanks to the wide variety of activities that players can engage in, the game offers a lot of freedom. The player can delve down to the bottom of the mines in search of untold treasures. They can become a master fisherman and catch a bucket load of fish.
There is the option to become an active member of the community by befriending everyone in the town and helping characters out with their various requests on the bulletin board. Or, you could just hang out in the Stardrop Saloon all day and play Journey of the Praire King. It’s really up to you. However, we would argue that the most compelling thing about this game and the glue that holds everything together is farming.
This quaint farming sim, created by the lovely Eric Barone, offers so many ways to optimize your farm with machines, varied crops, and other items. However, it could easily be argued that players would never be able to achieve the insane profits that many do without the help of Buildings.
Buildings in the context of Stardew Valley are structures that serve a purpose and offer unique functions and perks which will help you grow and optimize your farm. However, you may be wondering, what buildings are there in this game? How can I build these structures? What do they do? Or perhaps, who do I see about building these things?
These are all answers that we intend to share with you in this comprehensive Stardew Valley Building guide. So sit back, relax, and let us take the stress away so you can focus on gathering the resources needed to break ground on these projects. This is our Stardew Valley Building Guide.
Who Do I Talk To About Building Things?
Within Stardew Valley, there are a number of characters who offer unique services in the town. Pierre runs the store; Clint runs the Blacksmith, Gus runs the bar, and so on. This is no different when it comes to building structures on your farm.
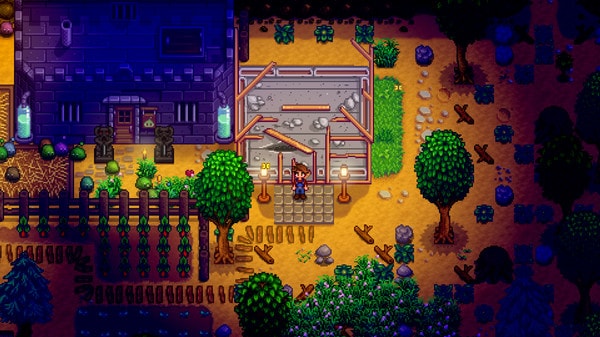
You may be a whizz with a watering can, but you aren’t a natural carpenter, so you’ll need some outside help. For this, you will need to head on up to Robin’s house by either out the north exit of your farm and up the back path, or you can head to town and then north past the Community Center.
If you are still lost, you may know it as Sebastian, Maru, and Demetrius’ house. If you catch Robin during business hours, you will be able to purchase buildings provided you have all the building materials needed. Also, just an additional side note, Robin also sells furniture as well, so she can build you a house, then sell you nifty decorations to make it look excellent too.
However, Robin is not the only person that can build things within this game, for you see, if you complete a special mission for The Wizard, which becomes available after three in-game years, you will gain access to a series of special buildings. These are buildings that extend most players’ playtime by offering incredibly useful items which cost a lot to obtain.
This means that players have a long-term goal to work towards, and the game doesn’t feel stale, even after the player has seen most of what the game has to offer. These buildings are considered ‘magical buildings’ and all provide a supernatural perk, making them a great addition to a late-game farm.
How Do I Build These Things On My Farm?
So you have tracked Robin down, she’s tending her shop, you have been playing for a while, and you have acquired a bunch of resources. We think it’s about time we taught you how to build in Stardew Valley. The good news is that it’s a very simple process and doesn’t require any skill or creativity. You just need to follow these simple steps below:
Step One: Make sure that you have all of the necessary items in your inventory before you head out.
Step Two: Look around your farm and decide where you intend to place the building. Then make sure there is no debris, grass, or other items in that space. If there is, you won’t be able to build on top of them.
Step Three: Head to Robin (or The Wizard), and when you interact with the shop, you can select ‘Construct Farm Buildings.’ This will open up a menu with project options. Simply select the building that you want to build.
Step Four: This will then transport you to your farm, and you will assign space on your farm where you want this building. The tiles that you move and place represent the amount of space that your building will take up. Don’t panic; buildings can be moved around at a later time if you use the ‘move’ option when in the Construct Farm Buildings’ menu.
Step Five: Then, all that is left to do is wait for the building to be built. This process takes two in-game days.
What Buildings Are There In Stardew Valley
It’s all well and good teaching you how to build things in Stardew Valley. However, you may be wondering what the options are, what they offer to you, the player. Or you may want to know what you need to make these projects a reality. Well, wonder no more. Here is a rundown of all the buildings in Stardew valley.
Carpenter’s Shop Buildings:
Barn
Cost: 6000g
Resources Needed: (350 Wood), (150 Stone)
Size: 7×4
We begin with a Barn, a staple of a thriving farmstead. Depending on your preference for poultry or four-legged livestock, this will inevitably be your first major building project. This building allows you to raise up to four Cows on your farm. This building features a feeding through that you will need to stock with hay to keep the animals happy and healthy.
Big Barn
Cost: 12,000g
Resources Needed: (450 Wood) (200 Stone)
Size: 7×4
The Big Barn is a step up from the entry above and allows players to really branch out in terms of the size of their livestock operation and the variety of animals that they can raise. This building can accommodate up to eight animals and also allows players to buy Goats, which means a new type of milk and, therefore, new, more profitable dairy products to ship. Also, with this building, you then have the chance of seeing your animals breed, meaning new baby animals may appear without the need for a trip to see Marnie.
Deluxe Barn
Cost: 25,000g
Resources Needed: (550 Wood), (350 Stone)
Size: 7×4
Then we have the Deluxe Barn, the fully upgraded version of the barn. This building will cost you a pretty penny, but the good news is that it more than justifies its hefty price tag. Firstly, you will be able to house up to twelve animals in this huge barn. Secondly, you will gain access to new animals like Pigs and sheep which provide high-quality artisan products for you.
Then for the best part, the player will gain access to an auto-feeder. This machine will shoot out hay at the beginning of each new day, meaning as long as your silo has some hay in there, you don’t need to manually feed your livestock ever again. It is a real game-changer and a huge step toward a fully automated farm.
Coop
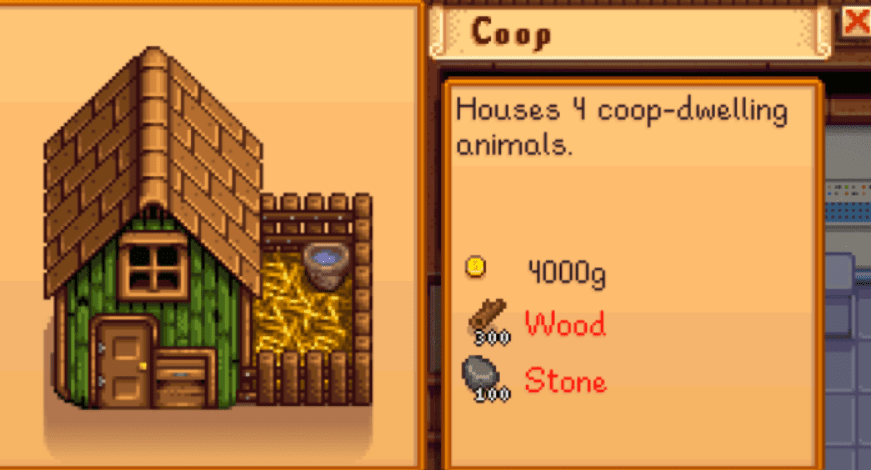
Cost: 4000g
Resources Needed: (300 wood), (100 Stone)
Size: 6×3
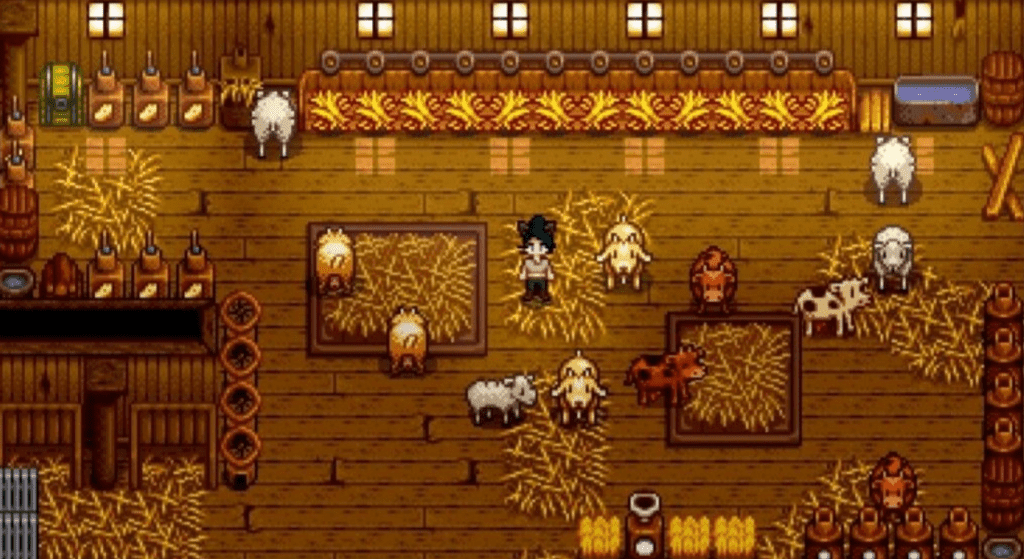
Now, we move onto coops, the sister building to the barn, and a place where you can raise all of your smaller farm animals. This building allows players to raise up to four chickens and, like the barn, comes with a feeding trough where players will have to manually place hay to feed the chickens.
Big Coop
Cost: 10,000g
Resources Needed: (400 wood), (150 Stone)
Size: 6×3
Naturally, you are going to want to add more animals to your coop, and you are going to want to explore other animal options. Well, the Big Coop is the first step on the way toward this. Players will be allowed to fill the coop with up to eight animals, will be able to buy Ducks, and will also be able to place eggs in an incubator, where they would eventually hatch and become a new member of your animal family.
This means that as long as you have a coop, you can also raise Void Chickens, Dinosaurs, and Golden Chickens. Although, admittedly, these are mid to late-game animals.
Deluxe Coop
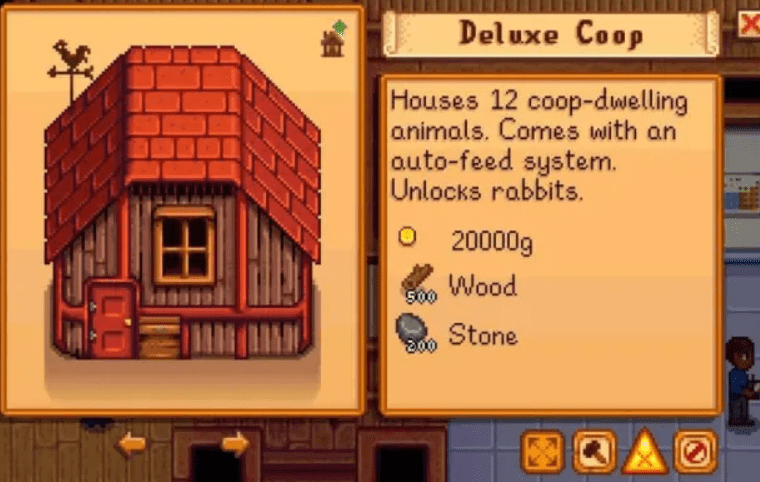
Cost: 20,000g
Resources Needed: (500 wood), (200 Stone)
Size: 6×3
Then lastly, when it comes to places to raise your animals, we have the deluxe coop. This building is the cream of the crop when it comes to coops, and it allows you to house twelve small animals, gives you access to Rabbits, and like the Deluxe Barn, this building also includes an auto-feeder machine to cut down manual care times and allow you to go about your day.
Mill
Cost: 4,000g
Resources Needed: (150 Wood), (50 Stone), (4 Cloth)
Size: 4×2
Next, we have the mill. This is a building within Stardew Valley that allows you to create refined products from raw produce like Wheat, Beets, and Unmilled Rice.
These, through the use of a mill, can be made into Flour, Sugar, or Rice, respectively. These are great products to sell, and a mill can also be a great way to stock your fridge with essential cooking ingredients. However, these can also be bought from Pierre’s.
The best way to get your hands on enough cloth to build a mill as early as possible is by making use of a Recycling machine and converting all the old newspaper you find. Every time you do this, you have a 10% chance of getting some Cloth. Then failing that, you can always go kill some Mummies in the Skull Cavern.
Pond
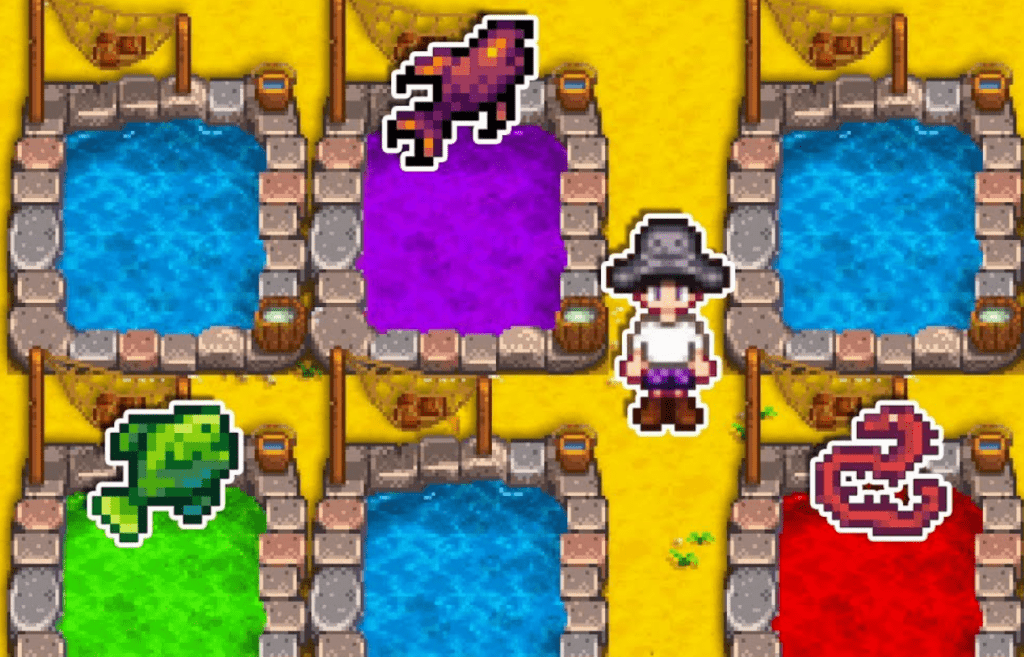
Cost: 5,000g
Resources Needed: (200 Stone), (5 Seaweed), (5 Green Algae)
Size: 5×5
Next, we have the Pond, a great way to produce rare items and raise fish right on your own farm. This feature allows you to multiply the fish that you place in the pond up to a limit depending on the fish in question. To harvest fish, you simply cast a line into the pond and fish them out. This can be a good money-making method, but the more long-term and profitable option is to raise the fish and allow them to stay in their pond.
If you do this, the fish will produce Roe, which is a steady means of profit. Plus, certain types of fish produce different random items as rewards. For example, Rainbow Trout have a small chance of producing Prismatic Shards, which, as any keen Stardew player will know, is a rare commodity indeed.
To multiply your fish army, you will need to bring them certain items to make them happy. These are random items within the game, and with each successful gathering of an item, the pond will become a little bigger and more accommodating. Sadly, you cannot use this to multiply legendary fish though, believe us, we tried. Also, this is not to be mistaken with the Farm Pond, which is the small body of water on your standard farm which is designed to allow new players to fill their watering can.
Shed
Cost: 15,000g
Resources Needed: (300 Wood)
Size: 7×3
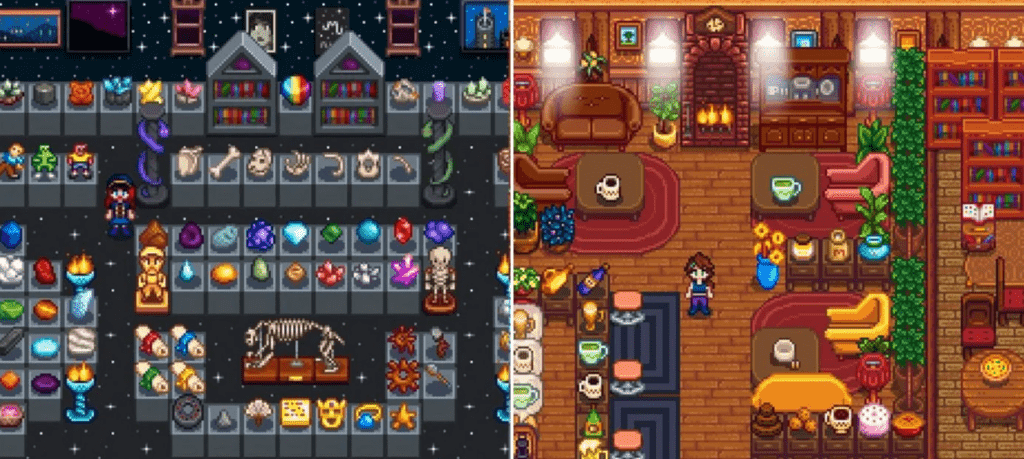
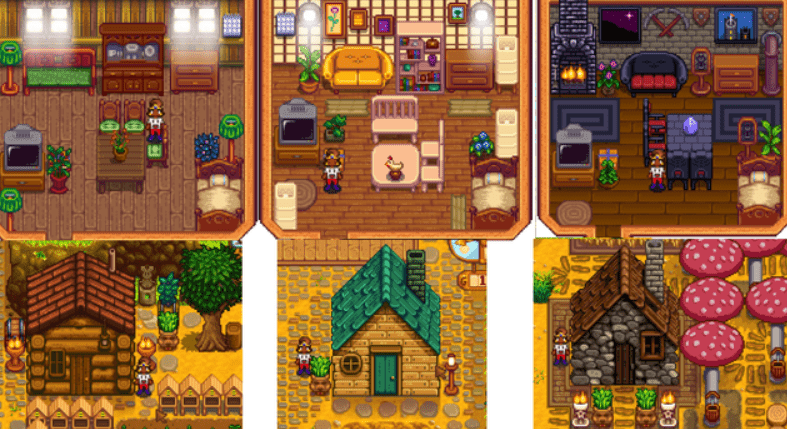
A lot of buildings within Stardew Valley have a very particular purpose. However, the Shed is a building that bucks that trend. A Shed is a building that offers the player an empty indoor space to do with as they please. It can act as a storage space, a place to add more machines on a very packed farm, or, if you are one of those very talented and creative Stardew Valley players that I admire so, you may turn this space into a special, signature space.
I have seen players turn Sheds into avant-garde coffee houses, beautiful botanical spaces, music rooms, and much more. Provided you have access to unlimited furniture via the Catalogue; the only limit is your imagination. So whether it is a space for practicality or pleasure, a Shed is a great option.
Big Shed
Cost: 20,000g
Resources Needed: (550 wood), (300 Stone)
Size: 7×3
Not a lot to say here that we haven’t said above. The Big shed is just a larger version of the standard Shed. It doubles the interior space on offer, allowing for more storage and more scope for grand decorative projects.
Slime Hutch
Cost: 10,000g
Resources Needed: (500 Stone) (10 Refined Quartz), (1 Iridium Bar), (20 Slime)
Size: 11×6
This is a building that really divides opinion within the Stardew Community. If the average player were to design their dream farm where money and resources were no option, a lot of players wouldn’t even include a Slime Hutch in their grand plans.
This is because while there is some profit to be had with a Slime Hutch, by the time you have the resources and the cash to make one of these buildings, there are already much better money-making methods available. However, for the novelty of raising and breeding killer slime balls, you could argue that this is a great addition to your farm.
To get the resources to make a Slime Hutch, you will need to get at least one Iridium bar. The best way to get this is by hitting the Skull Cavern, or if you are lucky, you can upgrade your pickaxe and mine any meteors that land on your farm. For the Refined Quartz, the easiest way to get ten of these is to build a recycling machine and then throw CDS and Broken Glasses in to create Refined Quartz.
You can get these easily by fishing in the Farm Pond. Then lastly, for the Slime, just head to the mines and start killing any variation of the slime enemies.
Then as for using the Slime Hutch, you can do this in a variety of ways. The most common use is collecting Slime Eggs and producing slimes, then walling them off so you cannot be harmed. Then if you fill the water basins with water, the slimes will produce piles of Petrified Jelly every day, which is a nice source of steady income.
Just a note, you will need at least five slimes in your hutch for this to occur. Or, you can also sell the eggs instead of using them to produce slimes in the Slime Egg Press, but overall, this building is more of a novelty than a money-making venture.
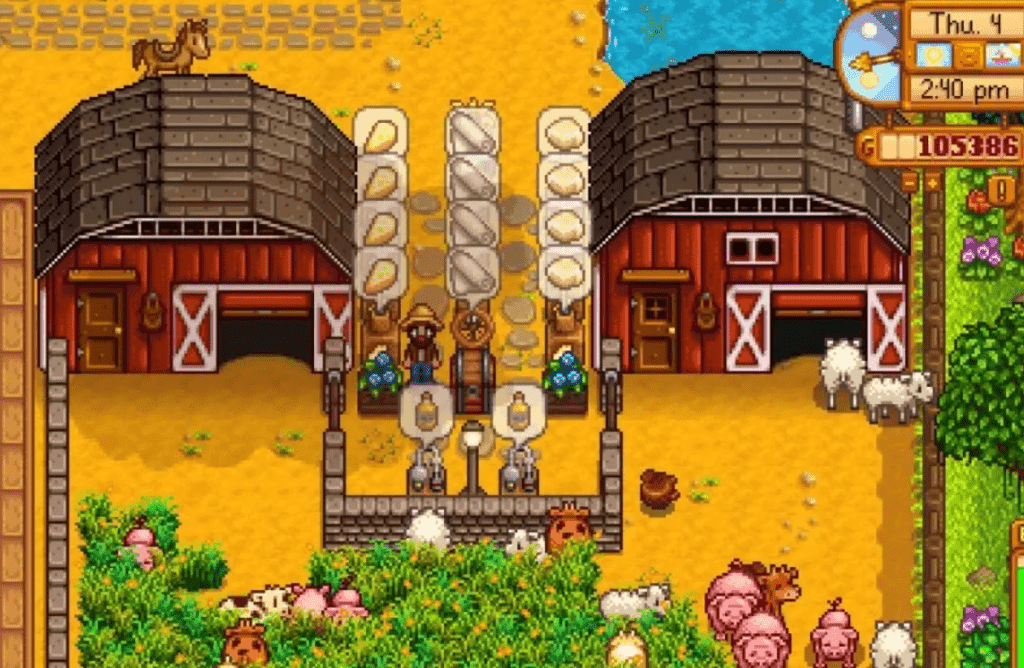
Stable
Cost: 10,000g
Resources Needed: (100 Hardwood), (5 iron bars)
Size: 4×2
Now we have the stable, one of the best ways to cut down your travel times around the town and get more things done. The stable is a building that you place on your farm, and when you do, you are automatically given a horse. This horse lives in the stable by default and will begin every day here. Allowing you to take them on adventures through Pelican Town and beyond.
In terms of gathering the resources for this building, gathering iron bars is easy so long as you have a furnace and have made it down to past level forty in the Pelican Town mines. However, hardwood can take a little while to gather. You can find this in the mines in a pinch.
However, the quickest way to gather one hundred pieces is by upgrading your axe, allowing you to cut down large tree stumps and mahogany trees. If you do this, you will get a lot of hardwood from the debris on your farm. Then the rest can be gathered in the secret wood. This area produces twelve hardwood per day, meaning you’ll be able to get a stable by the end of a week’s work.
Silo
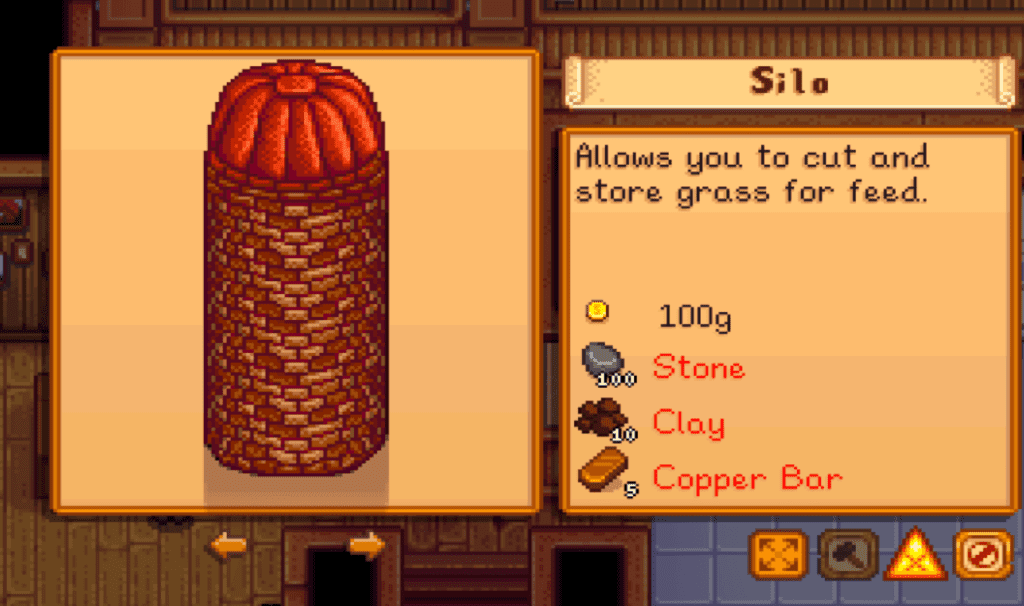
Cost: 100g
Resources Needed: (100 stone), (10 clay), (5 Copper Bars)
Size: 3×3
Next, we have the Silo, the cheapest project that money can buy. However, despite this small price tag, this building is a very useful structure to have on your farm. This building is basically a storage facility for your hay. When you have a Silo on your farm, you are able to store up to 240 pieces of hay per silo.
Plus, you can also repurpose all of that long grass on your farm. With the use of a scythe, you have a 50% chance of converting that grass into hay. Then with a Golden Scythe, that chance increases to 75%.
This is a building that can be built rather early, and you should aim to have one of these before you fill your barn or coop with animals. To get your hands on clay, you will need to use your hoe on soft soil; this will often uncover clay. It doesn’t necessarily have to be a tile that is showing worms.
Then as for the copper bars, you will need a furnace and copper ore. This can be found in the early stages of the Pelican Town Mines or can be bought from Clint the Blacksmith too.
Well
Cost: 1,000g
Resources Needed: (75 stone)
Size: 3×3
Then from the cheapest to perhaps the easiest building to make. The well is a brilliant first thing to build on your farm and can make tending your crops much easier and less time-consuming. The well serves as another watering hole where players can refill their watering can.
On a standard farm, the Farm Pond is the only access to water that the player has, and when your farm grows over time, you may want to add a well and cut down on all the time spent traveling to and from the Farm Pond.
The good news is, to do this, you only need seventy-five stone. So if you clear all the stone off your early farm or you take a day trip to the mines, you will probably acquire enough stone to make this project a reality.
Multiplayer Cabins
Cost: 100g
Resources Needed: (N/A)
Size: 5×3
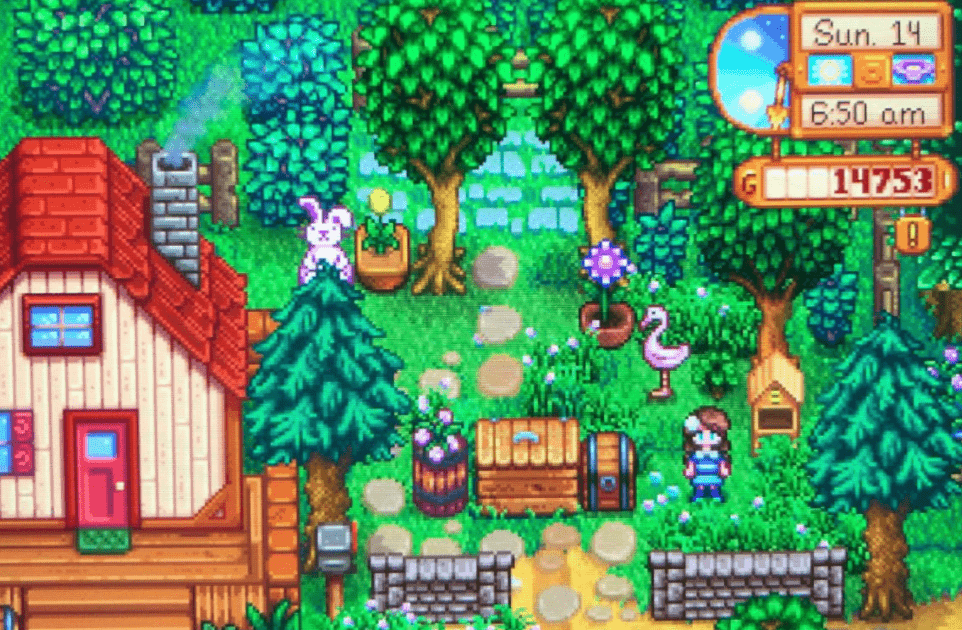
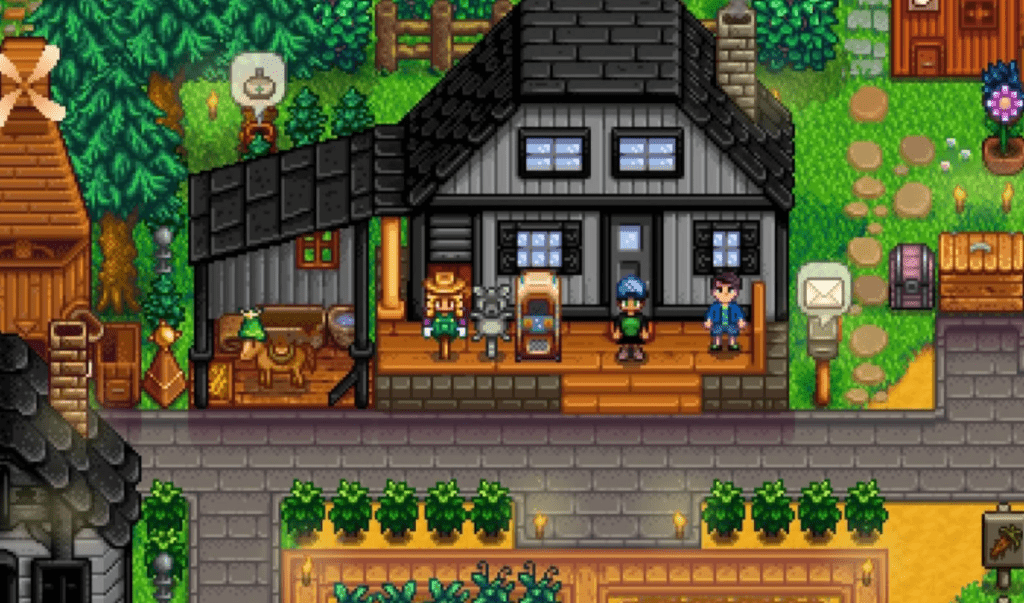
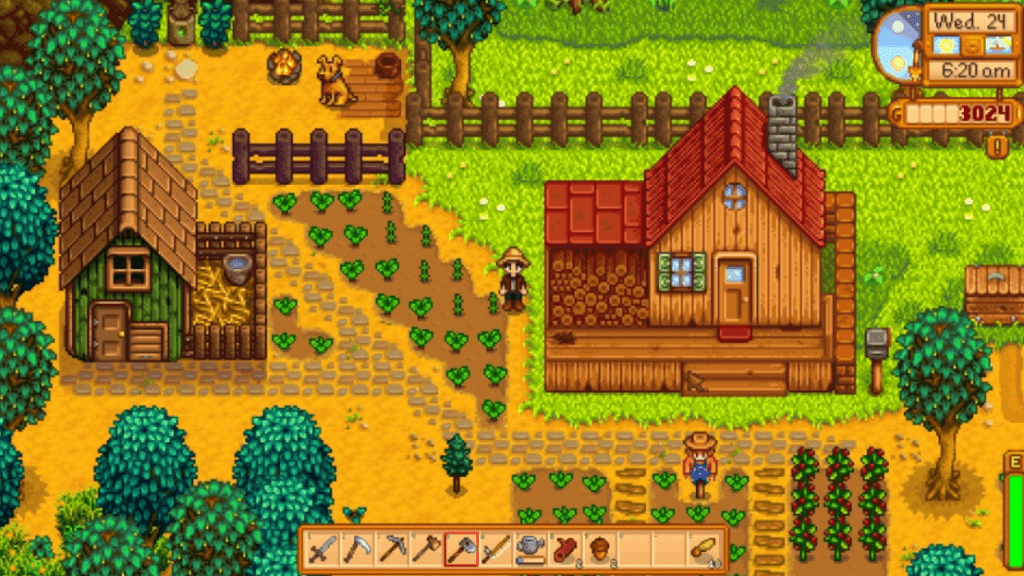
The 1.5 update for Stardew Valley added the one thing that players had been asking for, co-op mode. This mode allows up to three other players to share in your farming adventure. However, you may be worried about sharing your space with other players. Well, don’t be, as the game provides each farmer with their own cabin which they can decorate, store their items and call their own.
These can be built on your farm by choosing the option at the start of the game. However, as is often the case, people will see you play and want to join in on the action. Well, by heading up to Robin and requesting a cabin for just 100g, they too can enjoy the cathartic gameplay of Stardew Valley.
Plus, this doesn’t require any resources, which will please those that would like to save these for more personal farm projects.
Shipping Bin
Cost: 250g
Resources Needed: (150 Wood)
Size: 3×2
Then lastly, for Robin’s buildings, we have the Shipping Bin. You may be wondering if this is correct considering that you already have one of these on your farm when you begin your first day, but this is also a buildable structure.
The player will be able to purchase as many Shipping bins as they like and place them around the farm for the cost of a mere 250g. This can be super helpful if you want to ship items on the opposite end of the farm or if you want to place a shipping bin at each major exit.
It’s a shame that players cannot place the Shipping bins anywhere on the map as this would cut down travel times and wasted items a lot. However, if you complete a special request via the bulletin board, you will eventually be rewarded with a mini-shipping bin.
This is not considered a building as it is an item that you can pick up and add to your inventory. However, it offers the same functionality as a Shipping Bin, although it is limited to nine items per day.
The Wizard’s Building’s
If you have worked your way through your first three years, lit torches on your grandpa’s shrine, and did him proud. You may be thinking that Stardew has nothing else to offer you, but we are here to enlighten you. You see, Stardew is only getting started, and through the offering of some end game quests and, eventually, the Wizard’s magical buildings, the player will have the motivation to continue working on their farm and build some of the most helpful and satisfying buildings of all. Check them out below:
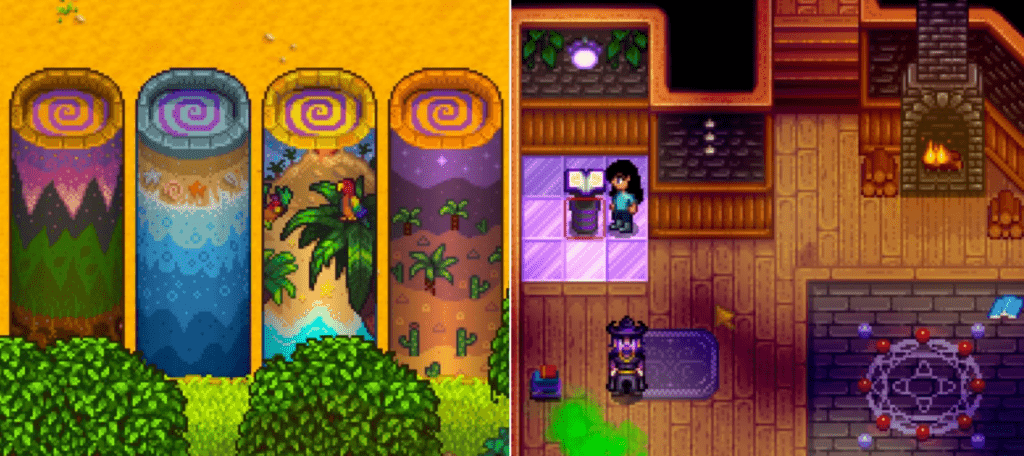
Earth Obelisk
Cost: 500,000g
Resources Needed: (10 Iridium Bars), (10 Earth Crystals)
Size: 3×2
First up, we have the Earth Obelisk, a building that will set you back half of a million, but for a good reason. You see, if you are familiar with warm totems, you’ll know that so long as you have the crafted item, you can teleport to a particular spot on the map.
Well, with the use of an Obelisk, you can do this with no need to craft items that require rather specific resources. You can use this Obelisk as many times as you like, and in addition to this, it looks really pretty too.
This particular Obelisk transports the player to the teleport zone for the mountains area, which is basically right under the ridge where Linus has pitched his tent. This warp gives you quick access to the mines, the Adventurer’s Guild, Robin’s shop, and the Community Centre. To find Iridium for this building, we would suggest hitting the Skull Cavern. Whereas with the search for Earth Crystals, we would suggest scouring the first twenty levels of the Pelican Town Mines.
Water Obelisk
Cost: 500,000g
Resources Needed: (5 Iridium Bars), (10 Clams), (10 Coral)
Size: 3×2
The Water Obelisk is a variation Obelisk that allows players to warp right to the beach as many times as they like with no need to use warp-related items. This spawns players on the left-hand side of the beach and gives players quick access to sea fishing, Willie’s Fishing Shop, the Ginger Island boat, and access to the beach for specific forage items.
To acquire the resources needed, you will need to find clams which are forage items that spawn on the left side of the beach. Whereas for Coral, the player will have to check the right-hand side over the once broken bridge. For Iridium, we reiterate that you should head to the Skull Cavern.
Desert Obelisk
Cost: 1,000,000g
Resources Needed: (20 Iridium Bars), (10 Coconut) (10 Cactus Fruit)
Size: 3×2
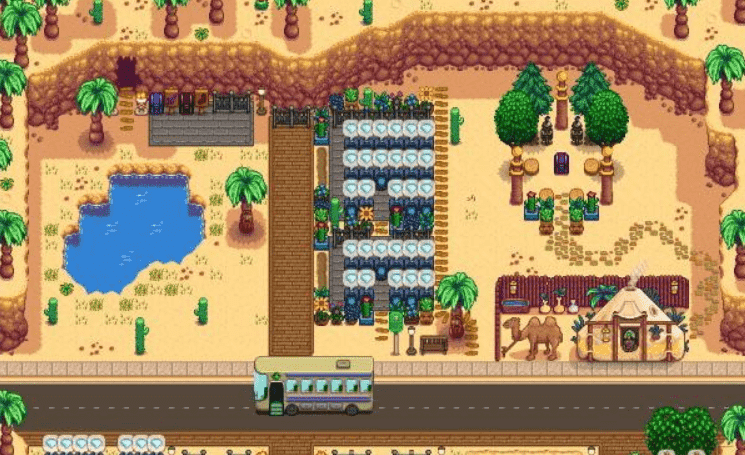
This Obelisk is a much more pricy item than the ones listed above. However, when you consider that this item allows you to skip bus fare and allows you to access the Calico Desert from the crack of dawn, you begin to see the appeal of this building.
This Obelisk will transport you straight to the Calico Desert whenever you like without the need for warp-related items or crafting. This allows players to hit the skull cavern early, get a whole day’s worth of mining in and make tonnes more profit than if they took the bus out here.
To acquire the resources for this one, you can just head out to the desert and gather coconuts and cactus Fruit, as these are desert forage items. You can also grow cactus fruit as crops if you so choose. Then as for iridium, once again, hit the Skull cavern. The deeper you go, the more Iridium ore you’ll find.
Island Obelisk
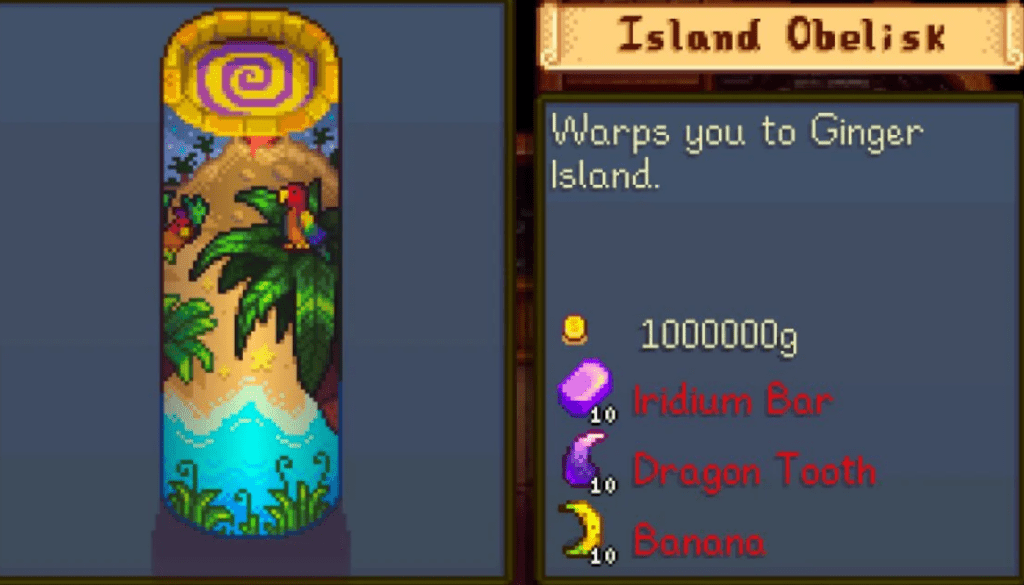
Cost: 1,000,000
Resources Needed: (10 Iridium Bars), (10 Dragon teeth) (10 bananas)
Size: 3×2
Then lastly, when it comes to obelisks, is the relatively new addition to the obelisk roster, the Island Obelisk. This building allows the player to avoid going to Willie’s shop and taking the boat out to Ginger Island. Instead, you can get a jump on things and delve deep into the Volcano Dungeon to get some fantastic loot. Or, if you split your time between two farms, this can be a way to quickly check on your tropical farmstead.
To get your hands on the stuff needed to build this structure, you will have to be acquainted with Ginger Island already, as the items required are specific to this region within the game. To get your hands on Bananas, you will have to grow a banana tree, either on Ginger Island or in your Greenhouse.
Then as for the Dragon Teeth, you can acquire these as a forage item found within the remains of an item in the Volcano Dungeon. Or you can get these by killing Lava Lurks 15% of the time.
Junimo Hut
Cost: 20,000g
Resources Needed: (200 Stone) (9 Starfruit), (100 Fiber)
Size: 3×2
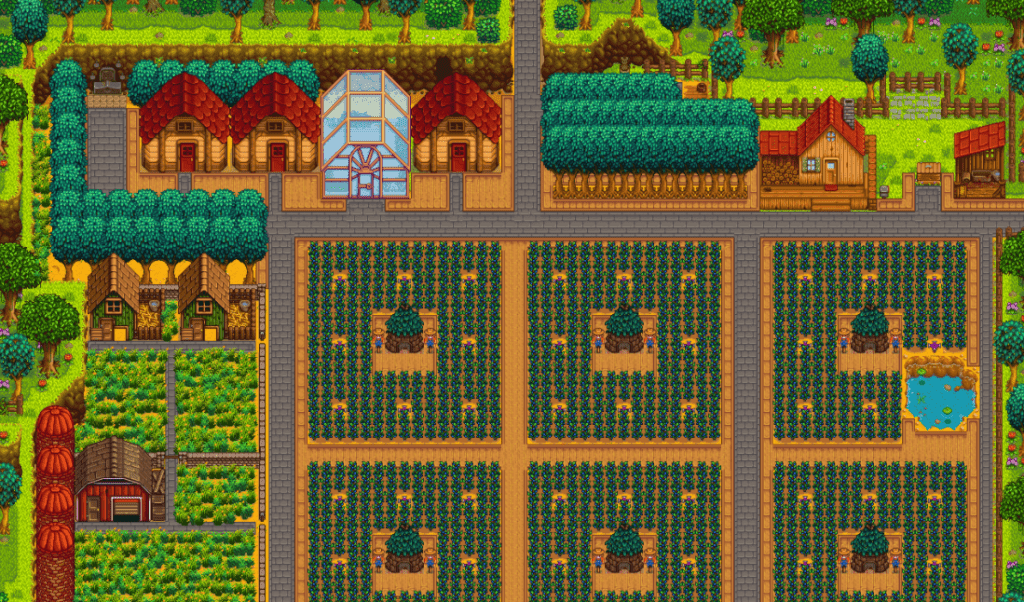
There are a lot of people that get rid of their fiber early in the game. Well, to those players, we say, don’t be so foolish as you’ll need it for these buildings right here. This is easily the most attainable of all the Wizard Buildings, and they can really cut down on your farming time without sacrificing any of the perks. Junimo Huts are little huts where Junimos live on your farm.
These buildings can be placed in the middle of crop fields, and when crops are ready to harvest, Junimos will run out and gather them at the start of the day, meaning you can simply come and collect your bounty when the job is done.
This hut will cover a 17×17 area and allows players to harvest up to 283 crops with no need for player interaction unless it is raining. The Junimios don’t like the rain and won’t collect on those days. To gather the resources necessary, you can grow Starfruit in Summer, on Ginger Island, or in your Greenhouse, and you can purchase the seeds from Sandy in the calico Desert.
Then as for fiber, we would really urge new players to gather this in the beginning and hold onto it. Other than that, gathering this resource will be a gradual process as you come across the grass in the wild.
Gold Clock
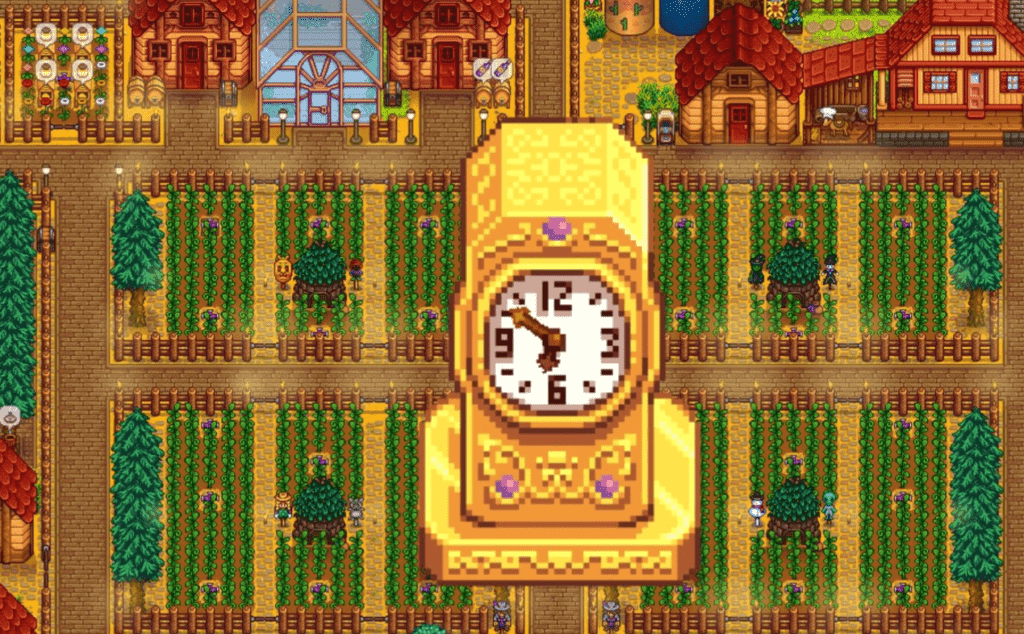
Cost: 10,000,000
Resources Needed: N/A
Size: 3×2
What, this solid gold clock? Why it’s only the most expensive building in the entire game. Not to be cynical, but in terms of usefulness, this item is rather overpriced, but if you are looking for a vanity project, this is the one to go for.
This item, when placed on your farm, ensures that no debris can grow on your farm, it ensures that no structures like fences can deteriorate over time, and, of course, it tells the time in-game. If this item wasn’t required to achieve perfection with Mr. Qi, we aren’t too sure if players would go to the trouble of buying this. However, we have to admit, when this clock sits pride and place in the middle of your farm, you can’t help but feel a little proud.
Your Farmhouse:
One of the most important buildings in the entire game is your actual farmhouse. After all, it’s where you live, where you rest your weary head after a long day tending the land, and it’s a place where you will eventually raise a family. So it only makes sense that the player should have to improve and adapt the interior of this house over time. So here is a list of the upgrades that the player can make and what each upgrade offers for the player.
House Upgrade 1 (Kitchen)
Cost: 10,000g
Resources Required: (450 Wood)
When you begin your journey, your house is nothing more than a box room with a bed and a TV inside. However, when you upgrade your house for the first time, the house expands, offering a dedicated bedroom, a living room area, and a kitchen. The added space is nice, but the real star of the show here is the kitchen.
This allows you to store and cook recipes that you will have learned from watching the cooking channel, being gifted recipes from the townspeople, and you might even have purchased a few recipes. However, now that you have a kitchen, you can make them whenever you want.
It is also worth noting that the player will have to upgrade their house at least once if they want to marry someone within the game. So if you want to settle down with someone, you better improve your living situation.
House Upgrade 2 (Baby Room)
Cost: 50,000g
Resources Required: (150 Hardwood)
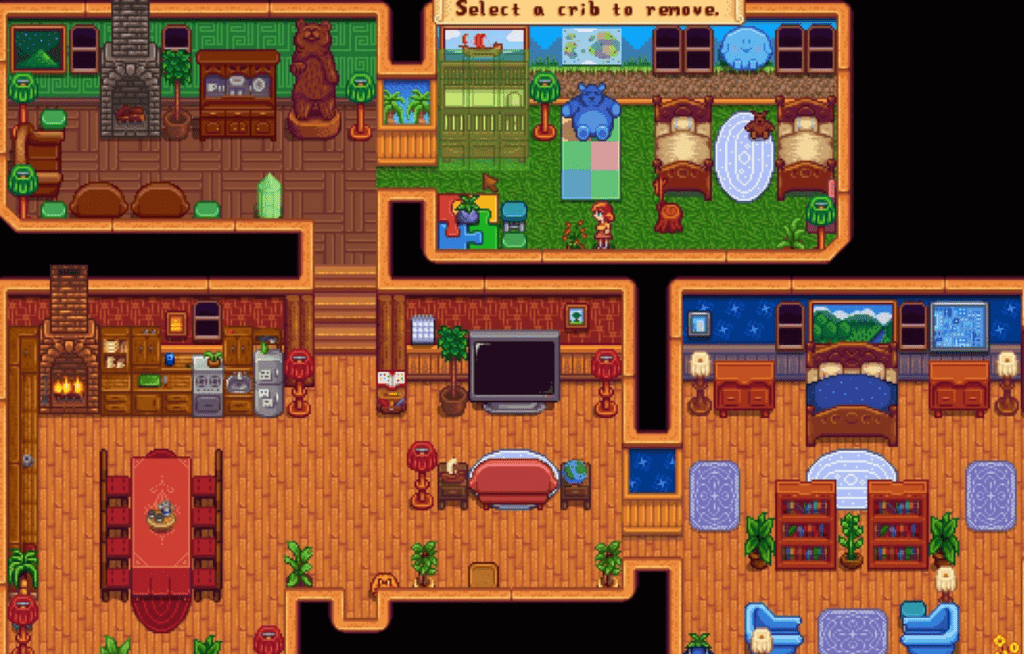
The second upgrade doesn’t offer a lot in terms of new features gameplaywise. However, what it does offer, is a heck of a lot more space to work with. You’ll see that with this upgrade, your house gets a second floor. Upstairs, you will be given a whole new room to do whatever you like with.
Then you will also see a baby room, which allows you to conceive a child if you happen to be married. This will happen randomly at the end of a normal day after this upgrade has been taken.
To gain the Hardwood needed for this upgrade, we would urge players to regularly visit the Secret wood as it produces 12 pieces of hardwood a day. Plus, grow Mahogany Trees for constant access to Hardwood as and when you need it.
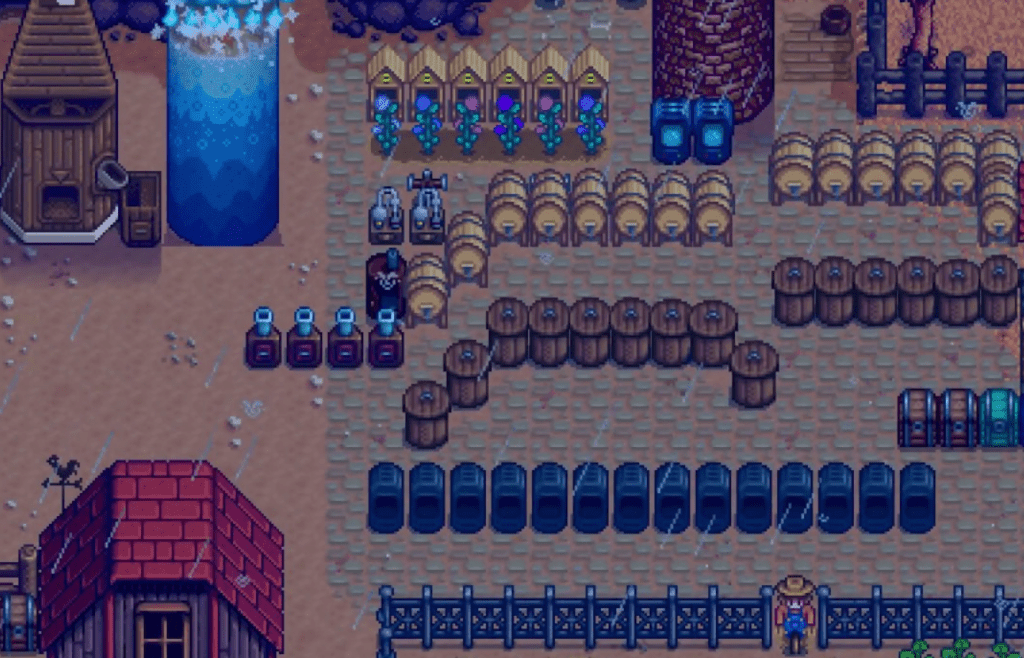
House Upgrade 3 (Cellar)
Cost: 100,000g
Resources Required: N/A
Then lastly, we have the third renovation that the player can make to their home. This is the addition that sees players add a cellar/basement to their home. This may sound a little lackluster for the cost of 100,000g. However, the cellar allows players to place items in casks and mature them over time.
This means that if you make wine or cheese, you can store them and up the overall value of the product. This can lead to huge profits with regards to wine, in particular with Starfruit and Ancient Berry Wine being some of the most profitable artisan products within the entire game. So if you want to start a wine and cheese empire, adding a cellar to your property is a must.
Community Projects
Then last but not least, we have the community project buildings. These are buildings that don’t abide by the same rules as the rest above. You don’t place them on your farm. Instead, you complete bundles or pay a fee, respectively, and these buildings become available to the player in set locations, though the greenhouse can be moved later. However, despite these being a little different, we still think these belong here too. So here is a little rundown of each project.
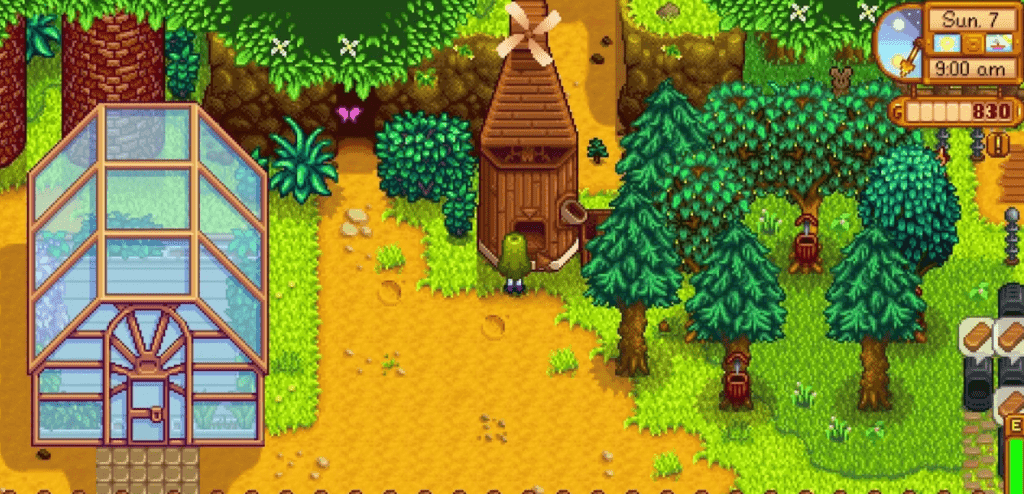
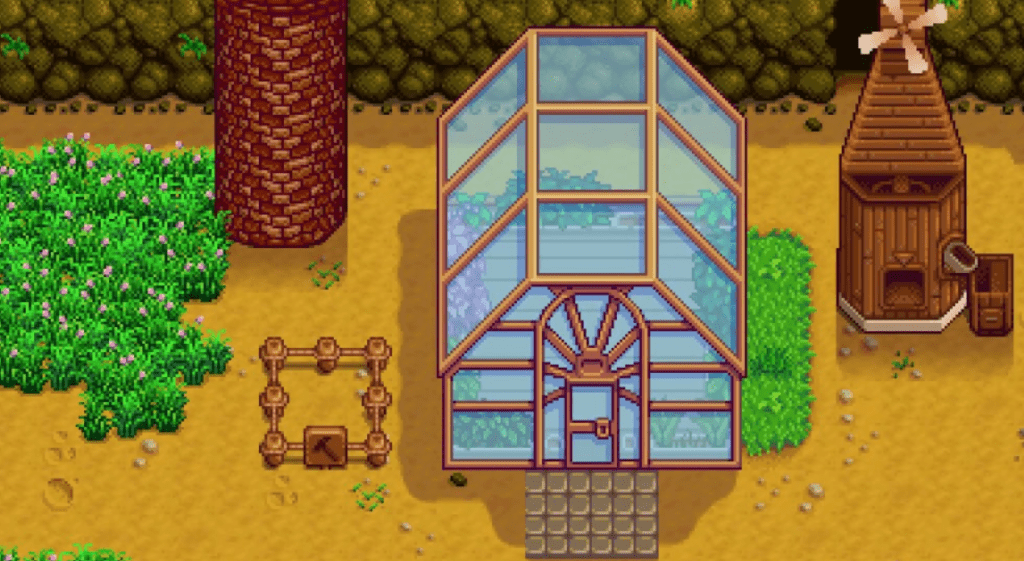
Greenhouse
How to Obtain: Complete the Pantry Community center Bundle or pay Joja Co 35,000g
size: 7×6
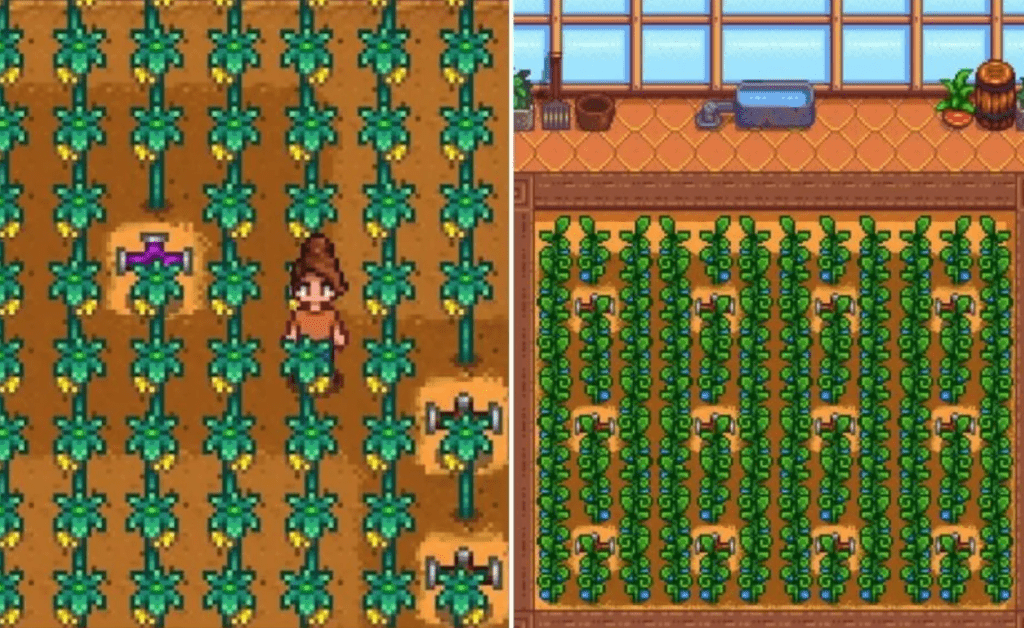
The Greenhouse is a reward that the player receives for completing all of the bundles within the community center Pantry, or equally, by paying Joja Co through their community projects initiative. This building is basically an all-season plantation where you can grow any type of crop, flower, or fruit no matter what season it is outside those glass walls.
This building offers a 10×12 space where players can sow seeds, and then the outer area is capable of allowing trees to grow. Players can therefore grow a maximum of 120 crops at one time and can also grow a maximum of 18 trees.
Pam’s House
Cost: 500,000g
Resources Required: (950 Wood)
Then we have the community project that allows you to turn Pam’s Trailer into a proper house for the small price of 500,000g. Can you tell we were joking there? Yes, it’s a lot for a building that doesn’t really affect you and your normal routine but hey, where is your charitable spirit? This is one for the real completionists and those that really do believe in community; all be it a virtual one.
FAQs
Question: What is the Most Useful Stardew Valley Building?
Answer: It’s hard to pick just one building as each offers its own unique perks, which as a collective, make a functional and profitable farm. However, that being said, there are some buildings that are a little more useful than others. So here is a quick list of the most useful buildings in our opinion:
• Deluxe Barn/Coop
• Greenhouse
• All the Obelisks
• Junimo Huts
• Stable
Question: What Building In Stardew Valley Should You Buy First?
Answer: There is no set order which you should buy your Stardew Valley buildings. Different players will naturally prioritize different things, set up their farms differently, and put money towards other things within the game. So for that reason, there isn’t a definitive answer, but there are some buildings that we would mark off as the best starter projects for a beginner farmer. Here they are listed below:
• Barn
• Coop
• Pond
• Well
• Silo
Question: What is the Hardest Building to Get?
Answer: Hands down, this has to be the Gold Clock. Some buildings in this game require the player to find rare materials, and some are rather expensive in their own right. However, due to the fact that the Gold Clock costs a whopping 10,000,000g, we simply can’t look past this one. This will take even the most dedicated player quite some time to add to their farm, and we wish you luck generating the funds for this luxury project.
A Carpenter’s Dream!
As you can see from the information above, there are so many building projects to take on within Stardew Valley. While it will be easy to build a wide array of farming buildings in a relatively short space of time, a lot of these are big-ticket items.
Meaning that if you want to build them all, you will have to be dedicated, gather resources carefully, and make the big bucks, so it doesn’t take an eternity. These buildings are a great incentive to play this game long-term, and for any true completionist, having all these assets on your farm is going to be a top priority. So get out there and get building!